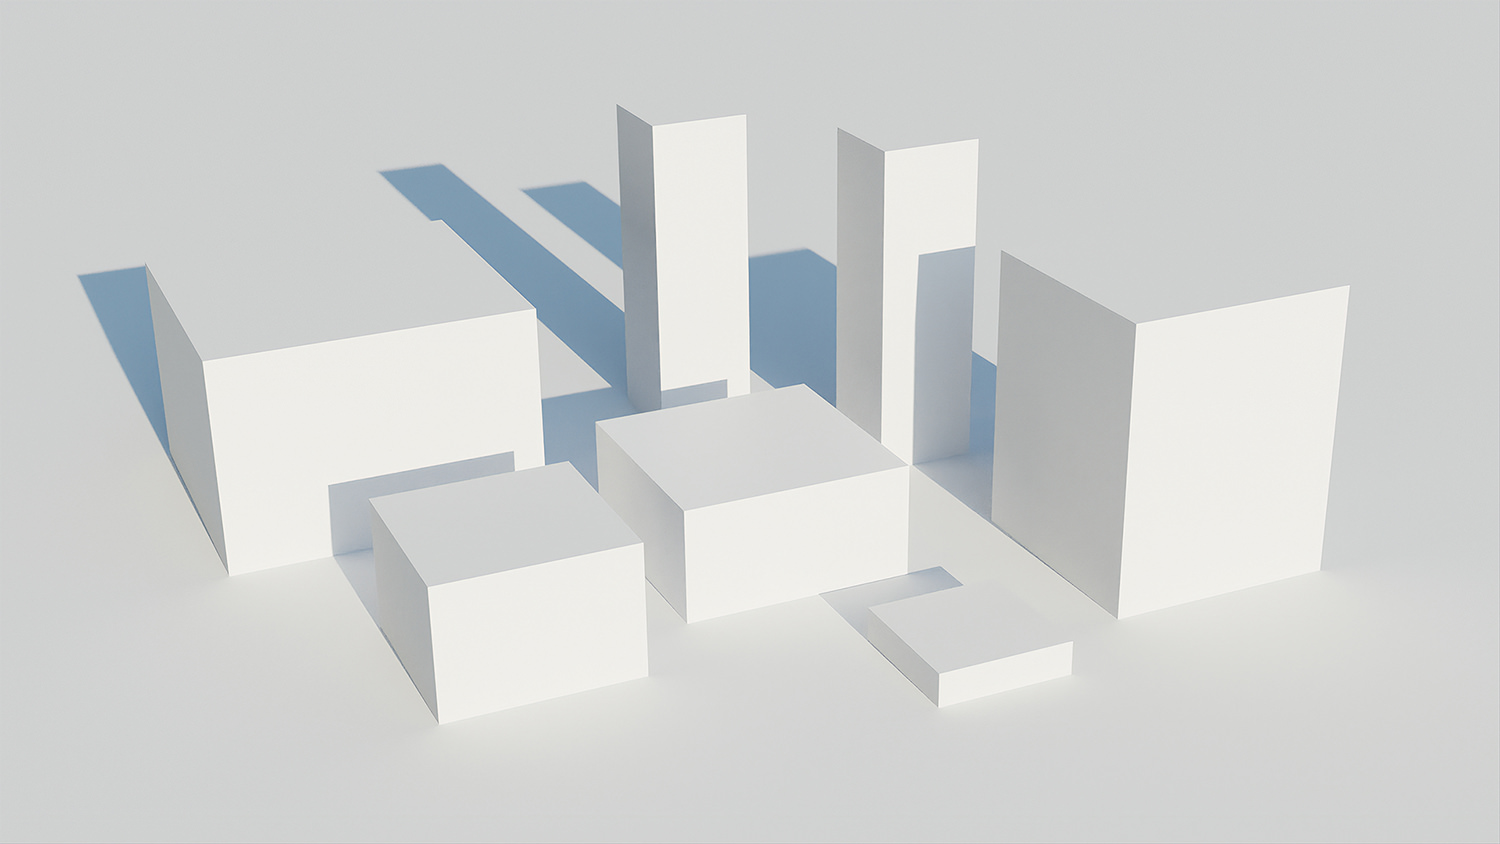
This short tutorial will guide you how to use any aifosDesign HDRI to light up your Blender 2.93 scene with accurate, realistic and light intensity calibrated environments. The above example scene is lit only by HDRI – Modernist Cottage in Forest (Summer; Early Evening).
Originally created in January 2020 for Blender 2.81, this tutorial has been scrutinized and verified to work with Blender 2.82, as of February 2020. As of June 2020, the same process applies for Blender 2.83. The same is valid for Blender 2.90, as of September 2020. As of August, 2021, this applies for Blender 2.93 as well, with the assumption that intermediate versions are compatible as well.
First, to set things up on our side, we will add (with SHIFT+A) a plane scaled (with S) to extend throughout the viewport, and add some simple cubes of varying non-uniform scale (using X, Y, and Z respectively while scaling to scale along one specific axis, and locking one axis while scaling the others by holding SHIFT and pressing the relevant key) to populate the scene. We press CTRL+ALT+Numpad 0 to align the active camera to the current view, and rotate the camera along the local X axis (by pressing R and then X two times) to contain the point of interest. We delete (with X) our default point light as well. Your scene will ideally be different, since the assumption is that you will let the HDRI's realistic lighting endow one of your creations of more artistic value than this example scene.
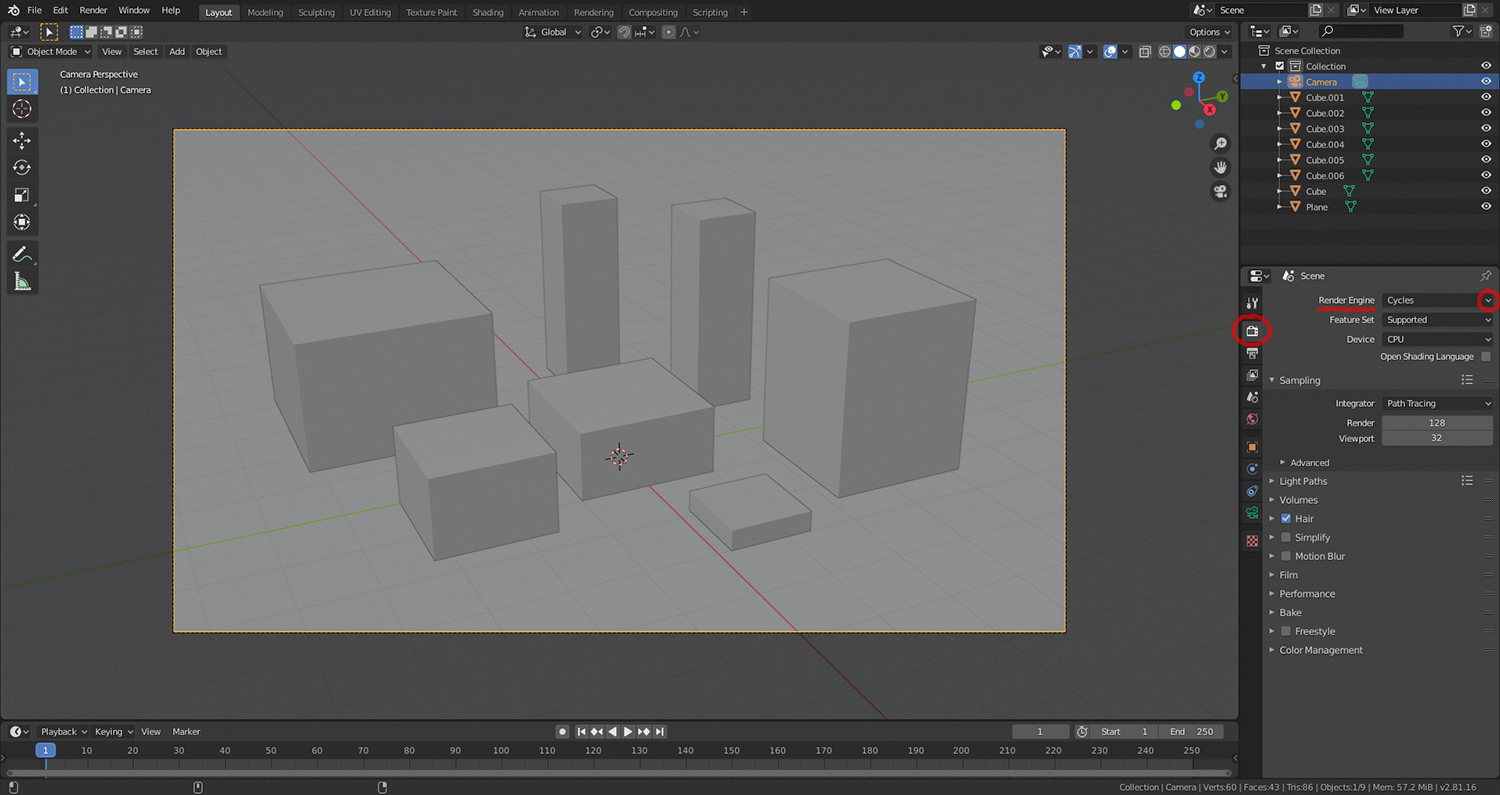
Having made sure that the <Render Engine> is set to [Cycles] in the [Render Properties] (the <Scene> context tab with the camera icon), let us now begin.
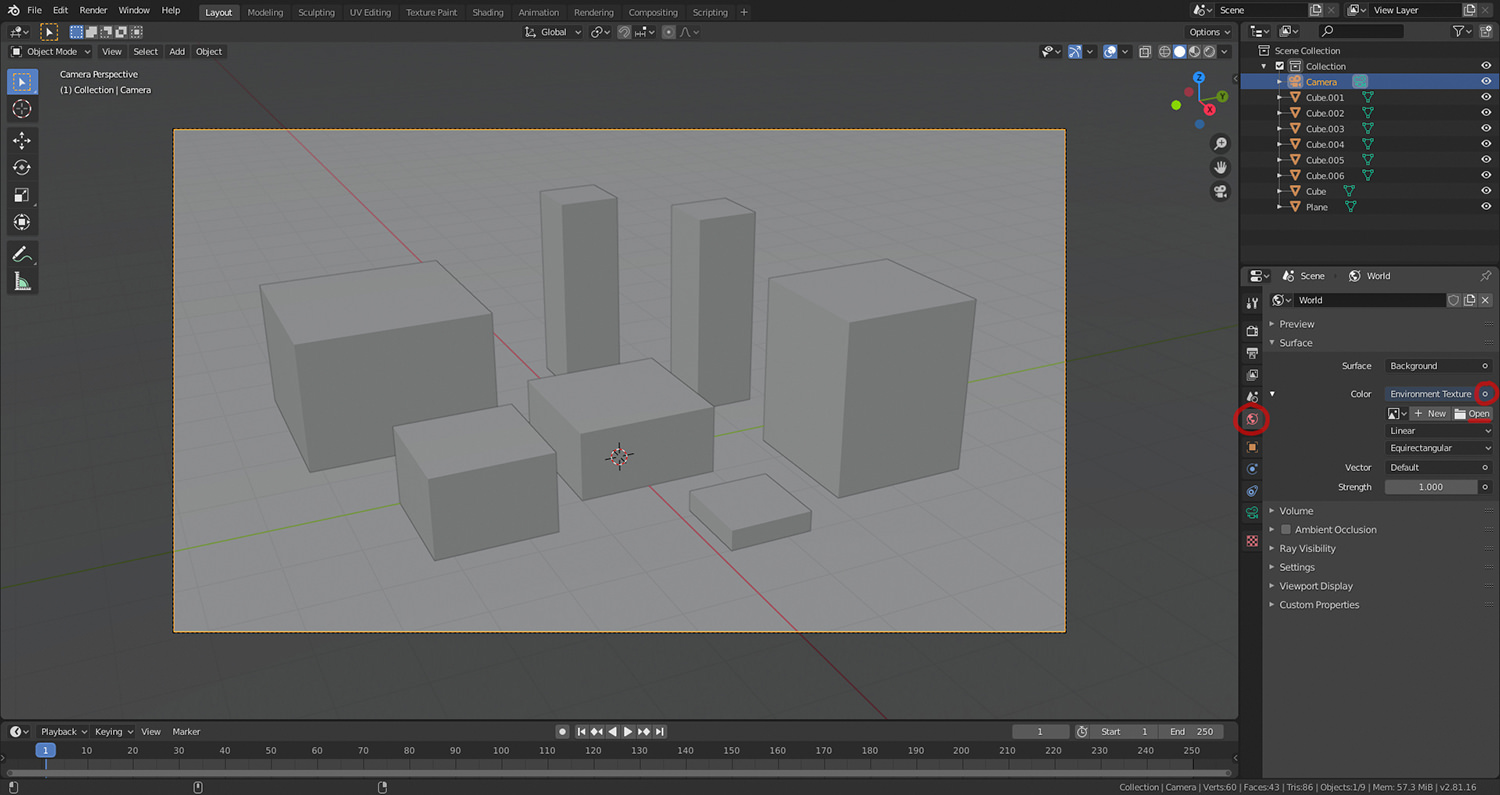
Navigate to [World Properties] (the <Scene> context tab with the red Earth icon).
Click the (large) circle (in recent Blender versions, it is yellow and to the left) next to <Color>, and select [Environment Texture] (under <Texture> category).
Click [Open] and navigate to or specify the filepath of the HDRI file of your choosing.
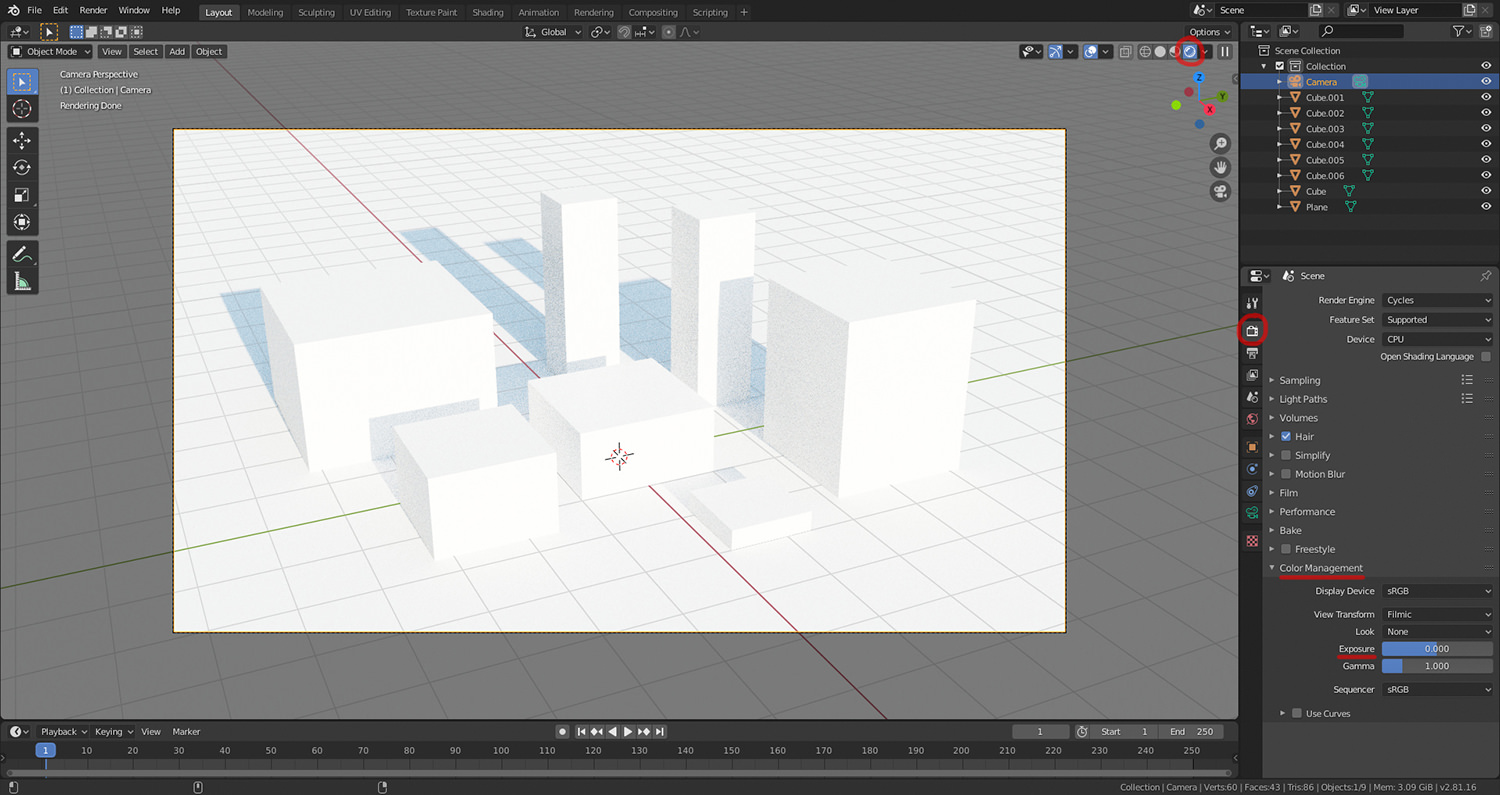
Having set the HDRI file (Open Image), change <Viewport Shading> to [Rendered]. This may take a while, depending on the size of the HDRI file.
Depending on the characteristics of the HDRI, the scene may now appear (sometimes absurdly) over- or underexposed.
This is because all of aifosDesign's HDRIs have been meticulously calibrated to actual light intensity (with EV 9 as the absolute reference point), in contrast to the arbitrary normalization prevalent in other HDRIs, and Blender's camera has implicit exposure settings equivalent to EV 9, which may produce a darker or lighter image than intended.
To properly balance this – since Blender natively lacks physical camera controls (at least with an effect on exposure) – instead of manipulating aperture, ISO and shutter speed, navigate to [Render Properties] (the <Scene> context tab with the camera icon), and under <Color Management>, utilize the <Exposure> slider to achieve visually pleasing/intended results.
Hold the SHIFT key to fine-adjust the slider's value.
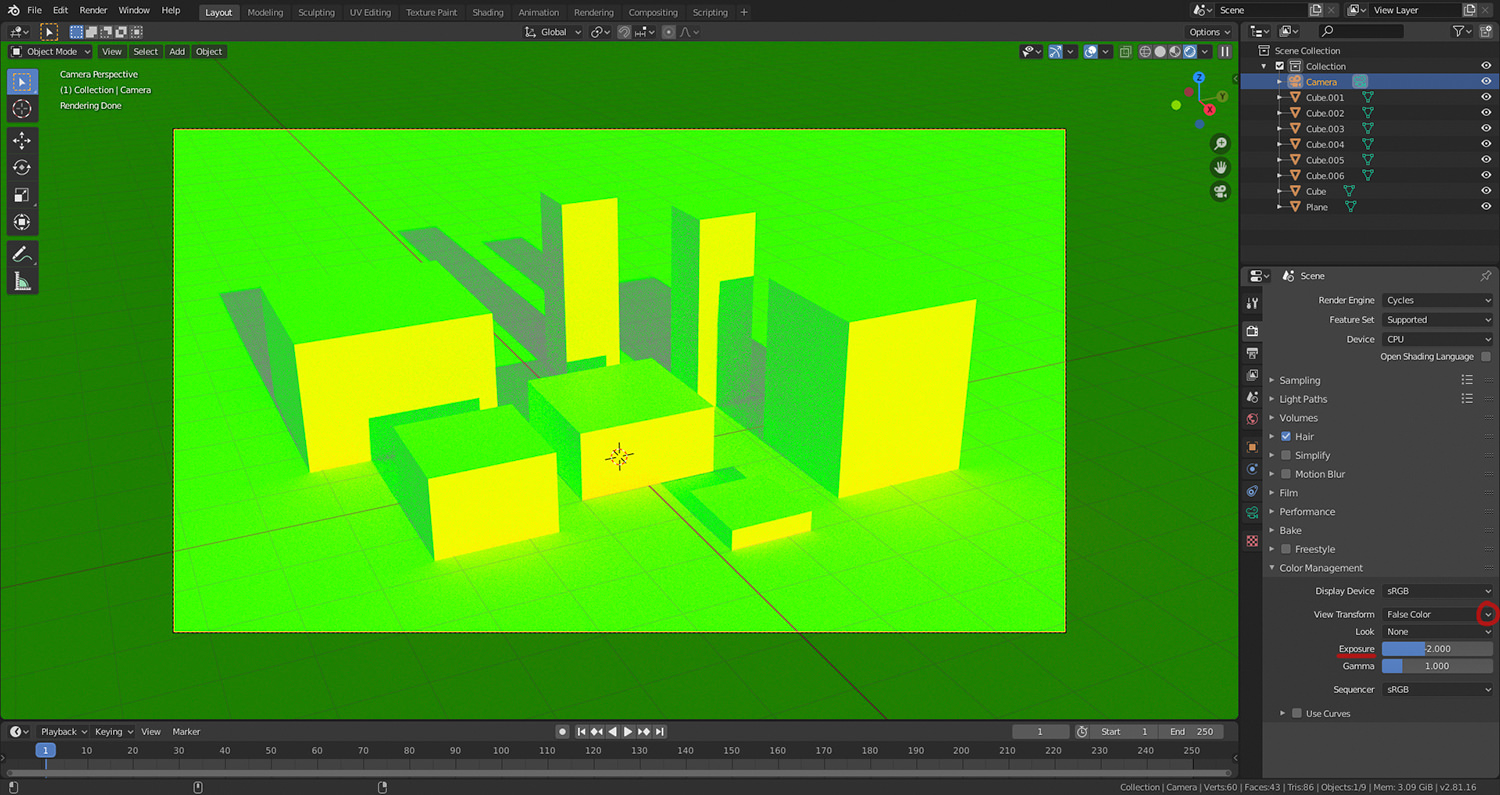
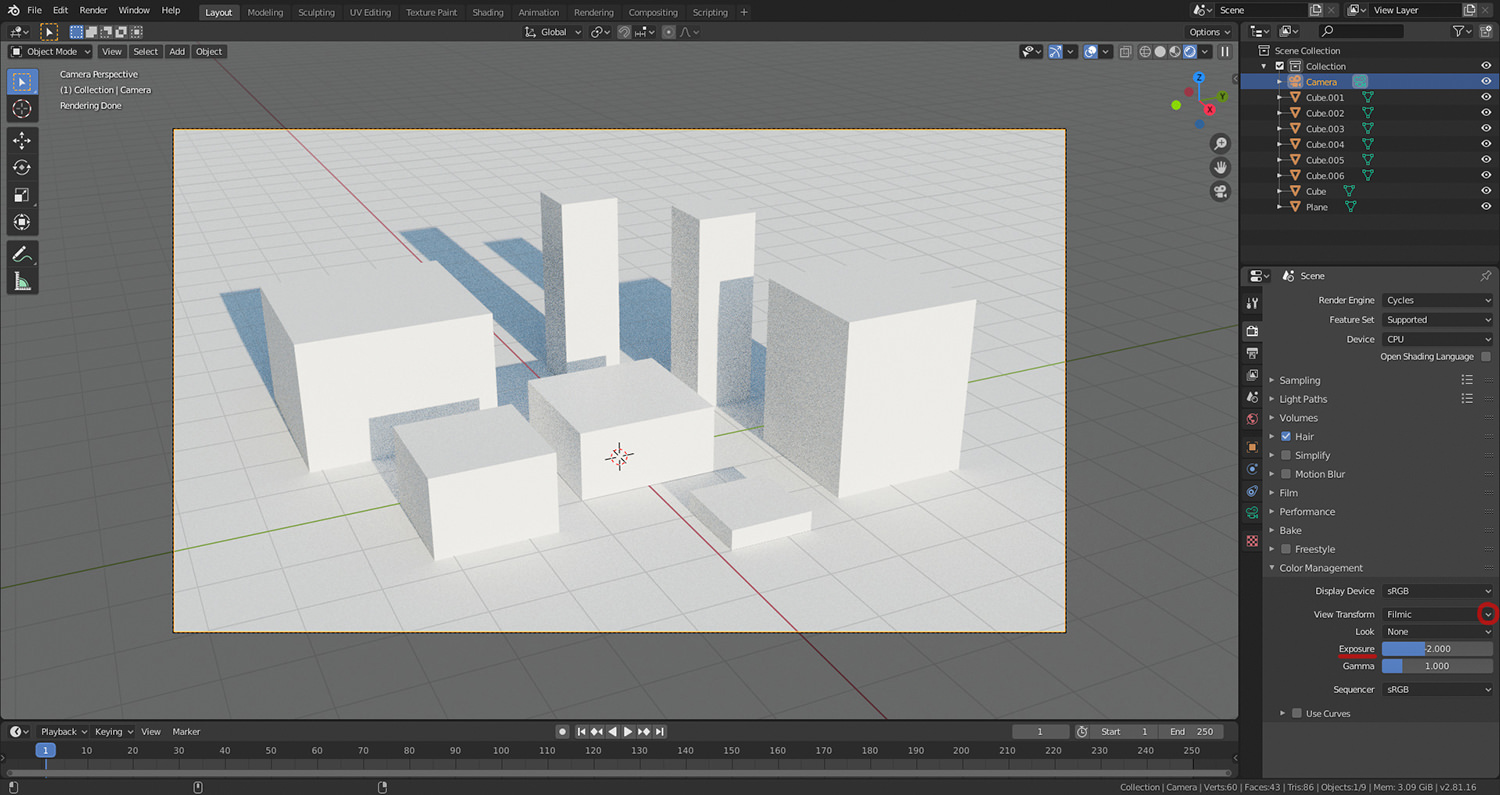
For a more controlled method of balancing exposure, change the <View Transform> from [Filmic] to [False Color], and adjust <Exposure> with the goal of having points of interest neither underexposed (beyond cyan) nor overexposed (beyond yellow), with grey corresponding with 18 % grey in linear colour space (about middle grey in perceptual colour space) and everything green pertaining to within about 2 EVs over and under middle grey, respectively.
When you think that the exposure is balanced enough for your artistic vision, switch back to [Filmic], and optionally further fine-tune the exposure, until you are satisfied with the results.
All aifosDesign's HDRIs are delivered with a recommended value for balancing the Exposure value to eye-pleasing levels – found in the attached Read me file or on the product page – however, this is only intended as a starting point for further experimentation into what your artistic desires want to achieve with regards to lighting your scene.
The physical camera equivalent EV can be calculated with EV 9 (Blender's implicit camera default) minus the <Exposure> value in <Color Management>.
If the <Exposure> value is negative, its additive inverse can be added instead, as per basic arithmetic, e.g. 9 - (-2) = 9 + 2.
With an <Exposure> value of -2, per above example, the Blender camera's exposure settings correspond with EV 11.
The major perk of the absolute light intensity calibration paradigm, is that all of aifosDesign's HDRIs can accurately be used for simulated physical camera workflows (i.e. EV-dependent scenes), as well as being more reliable when used interchangeably in conjunction with light objects of static intensity (e.g. street lights of a certain lux or candela, used simultaneously with early evening vs. twilight HDRI).
N.B. If you are using a scene-referred workflow (e.g. exporting to OpenEXR as linear 32-bit float/16-bit half float, etc.) and not a display-referred workflow (e.g. exporting to PNG, JPEG, etc.), it is important to remember that the <Exposure> value in <Color Management> will not be burnt-in, since it is discarded as a form of post-processing. However, it is easy enough to restore in any image manipulation software that can handle linear images, such as GIMP 2.10, by simply readding (or resubtracting) the same exposure value as was settled on in Blender.
If any issues persists, please write a comment below, and we will do our best to solve the problem.
Recommended tutorials to continue with:
How to rotate an HDRI environment texture in Blender 2.93
If you would like to return to the overview of our tutorials, please click here.
7 kommentarer till “Tutorial – How to use an HDRI environment texture in Blender 2.93”
Lämna ett svar Avbryt svar
Denna webbplats använder Akismet för att minska skräppost. Lär dig hur din kommentardata bearbetas.
There is a problem with Blender 2.90. You cannot resize the ET. Mapping does not work.
Hello, Thomas!
Excuse us if we misunderstand your question, but if it is regarding the scaling of the HDRI environment texture, it sadly does not function that way.
The environment texture is mapped to a theoretical sphere of infinite radius, similar (but not equal) to how the sky appears to envelop the Earth.
Changing of its scale would not change the angular increments of its spherical projection, and would thus not be perceived as different in scale.
The standard way of changing how the environment texture is perceived in terms of scale, is to alter the Field of View (in 2.90, you find it in the right-hand toolbar, under
View\View\Focal Length).If you decrease the Focal Length, the Field of View expands, and you allow for more of the HDRI to be seen. If you increase the Focal Length, the Field of View contracts, and you get a more ”zoomed-in” view of the HDRI.
If this helps you, or if it does not answer the question you intended, please let us know.
Sincerely,
Alexander & Sofia
awsome
Thanks, what a great post!
Great article.
hi How to rotate the hdri
Hello!
If you follow this tutorial, you should be able to rotate the HDRI:
How to rotate an HDRI environment texture in Blender 2.93
All the best,
Sofia & Alexander